Here we are at a new appointment with our 'Noob's Corner' column (noob = newbie, ie beginner), in which we will insert articles and guides to learn how to better manage the basic functions of the iPhone. Obviously this is an interesting section for those who are approaching the world of the iPhone for the first time and want to know its basic functions, before moving on to a higher level. Today we will tell you how to restore iPhone firmware using iTunes on Windows and Mac.
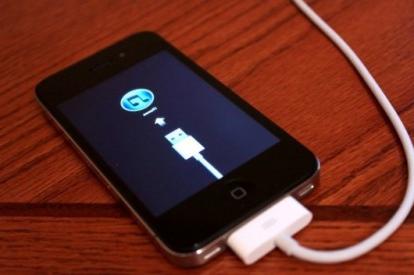
One of the most delicate operations that we occasionally find ourselves performing is restoring the iPhone via iTunes. In this way the contents of the device will be completely cleared and all the information contained in it will be removed. Obviously this is a procedure to be followed only and exclusively in case of malfunctions and / or important problems encountered during the daily use of the iPhone.
Requirements
First you will need to make sure that you have installed on your computer Windows or Mac - the procedure is identical - iTunes, the Apple music player which as we know also acts as a program for the synchronization of iOS devices. You will also need to have the firmware file that you intend to restore on the device in question. You can download the latest version of iOS directly from iTunes or from one of our links on this page. We recommend this second option in order to enjoy faster data transfer.

Premises | Backup from iTunes
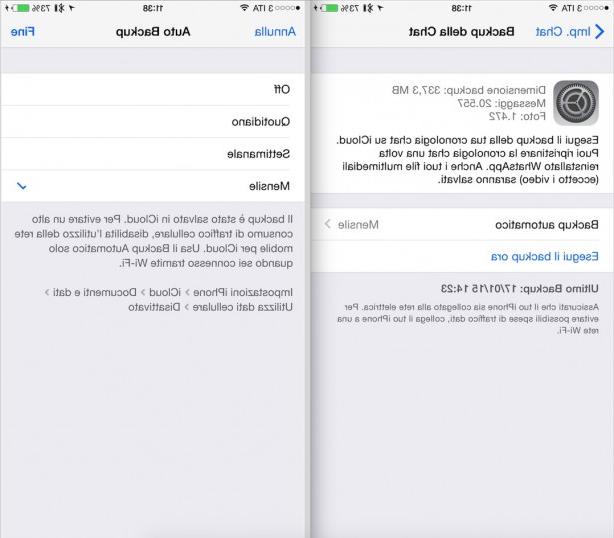
Before proceeding with any restore operation, it is always a good idea to make a backup of the device that you intend to restore to factory settings using iTunes. In most cases, if you have not disabled this function from the program settings, everything will happen automatically as soon as you connect the iPhone to the computer. Otherwise, just move to the label relating to your terminal and click on it with the right mouse button.

A drop-down menu will open automatically from which we will have to select the "Backup" item. The saving of the information on the iPhone will take place automatically and the related files will be stored by iTunes to be restored on the device at any time, in our case right after the device has been restored and the consequent installation of the new firmware.
Restore | Phase one
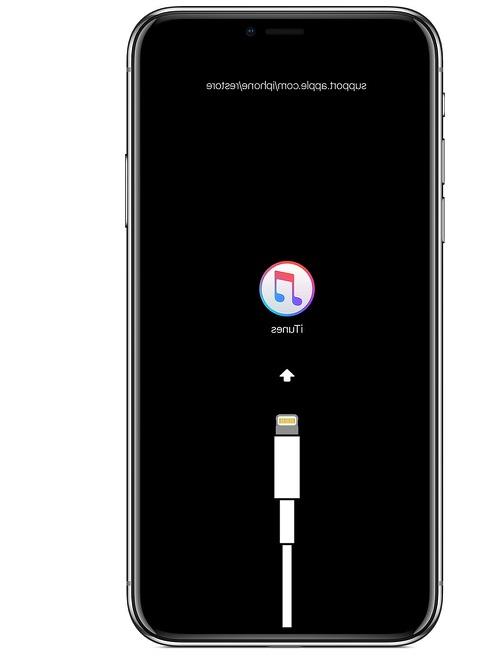
Once you have checked the availability of these two elements, all you have to do is connect your device to the computer, using the USB cable supplied, and then open (if this does not happen automatically) iTunes. Once inside the program, we will have to move to the section relating to the device we connected. Then click on the label bearing the name we have assigned to the terminal and we will find ourselves in front of a page similar to this one.

We will now have two different possibilities to restore our iPhone. There prima, in case you have not downloaded the firmware through one of our links but directly in iTunes, is to click on the "Restore" button and wait for the program to recognize the latest iOS version downloaded. Then just press "Restore" again to confirm the operation and proceed.

Note: If you haven't downloaded the latest version of iOS, iTunes will notify you when a new update is available. You can then choose to download and install the latest firmware available, download it for later installation, or ignore the warning completely.
La second possibility, on the other hand, can only be exploited by those who have downloaded the firmware to be restored via one of our links. Users will have to move this file (with .ipsw extension) to their Desktop and then, once inside iTunes, they will always have to click on the "Restore" key but holding down the ALT key (Mac) or the SHIFT key (Windows ).

At this point a new window will open from which you will have to select the firmware (.ipsw file) that you want to restore on the device. If you have moved it to the desktop, as indicated by us, it will certainly be easier to select the correct one without errors. To do this, first click on the name of the firmware and then on "Choose". At this point the operation will begin.
Restore | Phase two
Regardless of the type of mode, you will now have started restoring your iPhone or iOS device (iPod touch, iPad, Apple TV). In this phase you will be "passive viewers" as the whole process will be automatic and will be executed by iTunes without your intervention.

At first iTunes will verify that the firmware to be installed is complete and functional, in a second it will extract it, and finally it will proceed with the actual recovery and installation of the chosen version of iOS on the device.

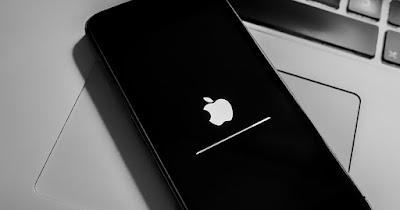
At this stage, you can continue to use iTunes as normal, even while the program is restoring the iPhone. Obviously, however, no other actions can be performed on the device in question, whose screen, among other things, will display the progress bar together with iTunes that will inform you about the restoration status. It usually takes about 10-15 minutes to complete.
Restore | Phase three
Once the iOS installation on the device is complete, a new message will appear in iTunes and you will be informed that your device has been restored to its default settings. You will not have to disconnect the terminal from the computer yet but wait for it to restart and for the window that appeared just before to be closed automatically. At this point your iPhone (or iOS device in general) will have been restored and you can use it again without those problems and malfunctions that you previously notified.

Now we will be asked if we want to configure the device as "New" or if you want to restore its contents from a previous backup. Having already done it previously, automatically or manually, we choose this second option.

In a few seconds the operation will be confirmed and the contents will be restored (contacts, messages, mail accounts, Safari favorites, etc ...). You can follow the progress of the backup restore using the classic bar that will appear at the top of the iTunes window.

This process can have different duration: everything is based, in fact, on the number of contents (especially multimedia, such as photos, videos, music and podcasts) loaded via iTunes on the iPhone. The more content you have entered before the restore, the longer it will take to reinstall them. After restoring from backup, you will have all the information and data that was present on your iPhone before the restoration again.
Well done! You have successfully restored your iPhone via iTunes!


