Have you come to the conclusion that your Instagram account has been hacked ? You can't even access it anymore, as the cybercriminal who probably hacked your profile has changed your password. And now ? What to do now? First try to stay calm: unfortunately these things can happen, but there is a remedy for everything, and I am here today to explain how to solve this particular problem.
In today's guide I will explain how to recover a hacked Instagram account by following the standard procedure in such situations. The team of the famous photographic social network has in fact set up a procedure to be used in situations like the one you are in right now, so that legitimate users can regain possession of their hacked account.
In addition to explaining how to carry out the procedure in question, in the last part of the guide you will also find some useful information on how to protect your account and avoid the repetition of violations of the same. So, what do you say? Are you ready to get started? Are you ready to get started? Good: make yourself comfortable, take all the time you need to focus on reading the next paragraphs and, more importantly, try to implement the "tips" I'll give you. I have nothing left to do but wish you a good reading and good luck with everything!
Recovering a hacked Instagram account
If, unfortunately, you have suffered the theft of your Instagram account due to a cyberattack, know that to regain possession of the same you will have to contact Instagram through the procedure provided in these cases. The procedure, at the moment, is only available from smartphones. Let me explain how to recover a hacked Instagram account by putting it into action.
First, launch the Instagram app on your Android or iOS device, tap on the Forgot your login assistance/forgot your password? link located immediately after the login form and, on the new screen that opens, tap on the link Do you need further assistance? located below.
On the Request Support screen, enter the email you signed up with or the contact email (if different) in the text fields at the top. Next, select the type of account you are requesting support for by choosing one of the options listed in the first block (e.g. Company or brand account, personal account with photos I'm in or personal account without photos I'm in), tap the My account has been hacked located in the last block, and press the Request Support button.
The Instagram team will take care of your support request and contact you as soon as possible at the email address you provided. I'm anticipating that it may take several days before Instagram contacts you, but when your request is taken care of, you should have no problem getting your account back through a simple identity verification procedure.
How to avoid being hacked into your Instagram account
Now that you've finally managed to recover your hacked Instagram account, let me give you some "tips" on how to prevent this from happening again in the future.
Use a secure password
Using a secure password is critical to prevent someone from sneaking into your account. To be considered secure, a password must consist of at least 16 alphanumeric characters including lower and upper case letters, numbers and symbols (e.g. ? , ! , %). In addition to using a secure password, remember to change it frequently, at least once a month.
If you think that the password currently set on your Instagram account does not meet the requirements mentioned above or if you haven't changed it for a long time, change it immediately. The procedure to follow is very simple.
- From smartphone - log into your account in Instagram app, press on the icon of the little man in the lower right corner, tap on the button (≡), press on the Settings item from the menu that appears, tap on the Password item, fill in the text fields Current password, New password, Repeat the new password and press on the Save item.
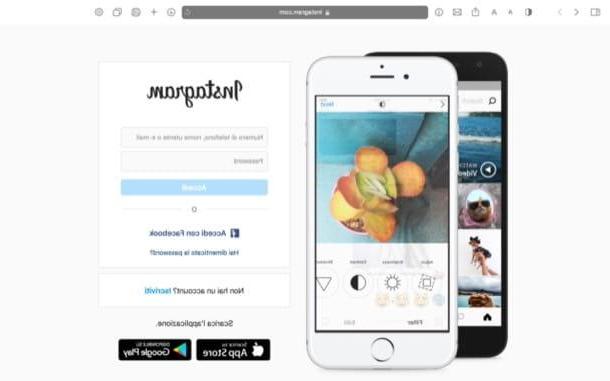
- From computer - log in to your account on Instagram website, click on the little man's icon in the top right corner, press the Edit profile button, click the Edit password item from the menu on the left, fill in the text fields Old password, New password, Confirm new password and press the blue button Edit password.
Activate two-factor authentication
Activation of the two-factor authentication is another important measure to protect your Instagram account from unauthorized intrusions. By setting up two-factor authentication on your account, in fact, to access it you will need to enter, in addition to the classic password, a second key that is sent via email or SMS, making it impossible for an attacker to access it (unless he has physical access to one of your devices). Here's how to set it.
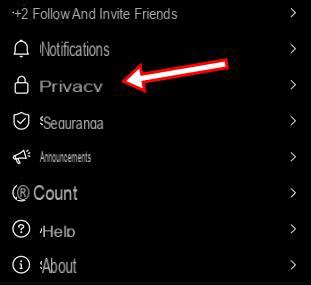
- From smartphone - log into your account in Instagram app, press on the symbol of the little man in the lower right corner, tap on the button (≡), tap on the Settings item, press on the two-factor authentication and press the Start button. Then move the switch next to the text message or authentication app to ON and follow any on-screen instructions to save the setting.
- From the computer - log into your account on the Instagram website, click on the little man icon, press the Edit profile button, click on the Privacy and Security item, select the Edit item for two-factor authentication settings and tick the SMS option. Then press the Activate button, type your phone number in the text field, press the Next button and, after entering the code in the text field, press the Finish button.
Revoke access to suspicious applications
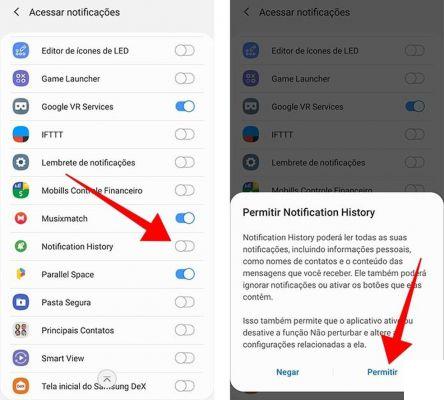
If you want to sleep reasonably well, I also advise you to revoke access to suspicious applications that have access to your Instagram account. Sometimes it is precisely through access to some of these applications (such as those that promise to find out who's looking at your Instagram profile) that the attackers are able to penetrate the victims' accounts.
To revoke access to suspicious applications, log in to your account from the web version of Instagram, click on the little man's icon, then click on the Edit profile button and click on the Authorized applications item on the left. Then locate the application you want to revoke access to and press the blue Revoke access button. Finally, answer Yes to the Confirm you want to revoke access to this app and you're done.


