Apple Pay compatible devices

As already specified at the beginning of the tutorial, Apple Pay is compatible with all iPhone models starting with iPhone 6 and with all variants of Apple Watch, but in reality the service can also be used on Mac and iPad. Here is the detailed list of all devices supported by Apple Pay at this time.
- iPhone - iPhone 6 and later, iPhone 6 Plus and later, iPhone SE and later. With these devices, you can pay in physical stores, in apps and on the web via Safari.
- Apple Watch - all models (obviously only if associated with iPhone). With these devices, you can pay in physical stores and in apps.
- iPad - 5th generation iPad and later, iPad Pro 2015 and later, iPad Air 2 and later, iPad mini 3 and later. With these devices, you can pay in apps and on the web via Safari.
- Mac - MacBook Pro with Touch Bar and Touch ID, all Mac models marketed from 2012 onwards (only if paired with an Apple Pay enabled iPhone or Apple Watch). With these devices, you can only pay on the web with Safari.
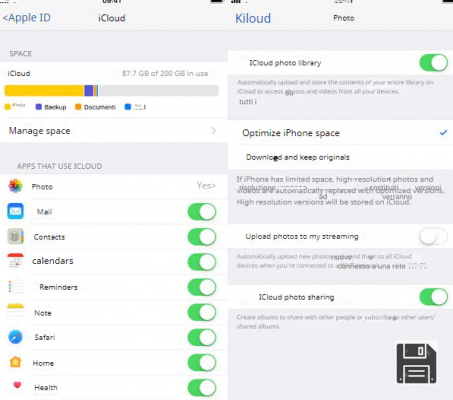
Another important thing to underline is that on the devices on which you intend to use Apple Pay you must have configured with an Apple ID associated with iCloud. To know how to create iCloud account and how to use it, read my tutorial dedicated to the subject.
Cards supported by Apple Pay

Apple Pay can be used to make payments both in physical stores and online through credit, debit and prepaid cards of the most popular circuits, such as those MasterCard e Visa.
Among the cards compatible with the service, I would like to point out HYPE. If you have never heard of it, HYPE is an electronic money account associated with a Mastercard circuit card (both physical and virtual) perfectly compatible with Apple Pay (and also with Google Pay and Samsung Pay, on Android) ideal for make purchases both in physical stores and online, with the possibility of obtaining cashback on over 500 stores.
HYPE also allows you to send and receive money, send and receive free wire transfers, withdraw from ATMs around the world, pay bills / bills, make phone top-ups, set savings goals to buy and sell Bitcoins and much more. All this can be conveniently managed from the smartphone app and from a PC.
To open a HYPE account, all you need to do is visit the official website and follow the instructions on the screen (everything is done in a few minutes, provided you have a valid identity document at hand). You can choose between different plans: HYPE Start, that is the basic plan of HYPE with no fixed monthly costs; HYPE Next (€ 2,90 / month with € 20 bonus on Amazon using the code AMAZON20 during registration) which breaks down the withdrawal, top-up and spending limits of HYPE Start and adds the possibility of domiciling the utilities and crediting the salary; and finally HYPE Premium (€ 9,90 / month with € 25 bonus on the first top-up using the code PREMIUM25 in the registration phase) which combines the advantages of HYPE Start and HYPE Next with complete travel insurance (medical and for delayed / canceled flights) with also payments and free withdrawals all over the world, the World credit card Elite Mastercard is a priority assistance service (also via WhatsApp).
More information about HYPE More information about HYPE Next More information about HYPE Premium
After opening an account with HYPE and activating your card (whether physical or virtual), to use it with Apple Pay you must add it to IOS Wallet: to do this, go to the section À la Carte application of HYPE, press the appropriate button and follow the instructions on the screen. Alternatively, launch the app Wallet iPhone, press the button capacitor positive (+) lead located at the top right and follow the instructions on the screen to frame the card with the camera or enter the data manually.
Once the HYPE card has been added to the iPhone Wallet, you can make your purchases with Apple Pay simply by calling up the service menu (e.g. by pressing the side button twice on iPhones with Face ID or on Apple Watch), unlocking the device (unnecessary operation on Apple Watch) and bringing the latter closer to the POS of the store.
If you want to know more about how HYPE works, do not hesitate to consult the tutorial I have dedicated to the service. If, on the other hand, you want more details on Apple Pay and the cards supported by the latter, read this information page on the Apple website.
Stores and apps that accept Apple Pay

As mentioned in the opening of the post, Apple Pay is already supported by a wide range of physical stores, hotels, bar, Internet site e Whatsapp.
Among the stores that support Apple Pay are those of Apple, Auchan, Carrefour, Eataly, Esselunga, EuroSpin, H&M, Lidl, MediaWorld, Mondadori, OVS, laRinascente, Sephora, Simply and Unieuro and all the clubs / shops that display the Apple Pay brand (and / or that have POS with contactless support).
As far as apps and websites are concerned, names such as Deliveroo, EasyJet, ePrice, Giglio.com, Musement, SaldiPrivati, Trainline, Booking and Unieuro have been supporting Apple Pay right from the start. For the full list of apps that support Apple Pay, visit this App Store page on your iPhone or iPad.
How to associate a card with Apple Pay

To use Apple Pay, you need to add your ad card Apple Wallet, the iOS digital wallet that can include credit cards, travel tickets, loyalty cards and more. The operation is of a disarming simplicity. After you get a card supported by Apple Pay, you need to launch the app you normally use to manage it and look for the button Add to Apple Wallet.
After pressing the button in question, the wizard will start to associate the selected card with Apple Wallet and then with Apple Pay. So press on the button NEXT located at the top right, choose the device to associate the card with (iPhone o Apple Watch) and presses the button again NEXT which is located at the top right.
Within a few seconds, the system should check the validity of the card, contact the entity to which it belongs and a document with the conditions of use of Apple Pay should appear on the screen. Then accept the terms of use of Apple Pay by pressing the button Accept located at the bottom right and wait for the card to be added to your Apple Wallet (and therefore to Apple Pay).
To associate the card with another device (eg an Apple Watch after pairing it with the iPhone), open again the app with which you manage your card, call up the function to add new devices, "tap" the button Add to Apple Wallet and choose the new device on which to enable the use of Apple Pay with the selected card.
Alternatively, you can also open the app directly Apple Wallet, press the button capacitor positive (+) lead which is located in correspondence with the service Apple Play and add a credit card to your Wallet by pressing the button first NEXT located at the top right and then framing the card with the camera or entering the data manually (after selecting the appropriate item at the bottom of the screen).
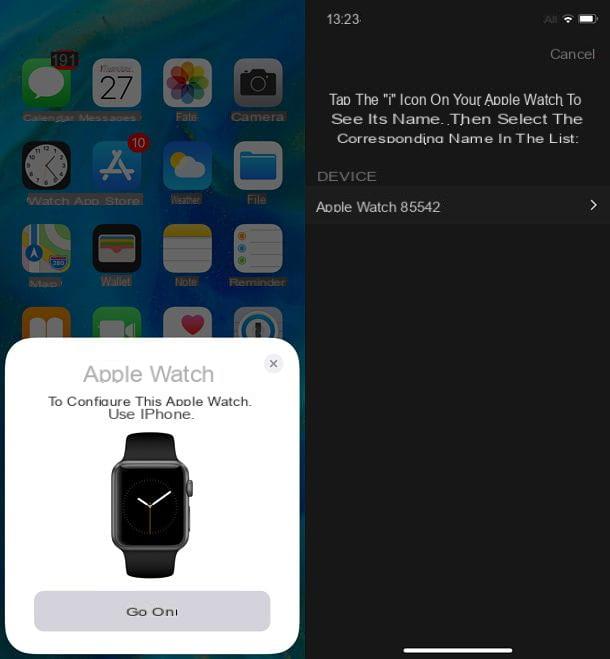
To “manually” add a credit card to Apple Wallet on Apple Watch, start the app Watch on your iPhone, select the tab Apple Watch which is at the bottom left and go up Wallet and Apple Pay. Next, tap on the item Add credit or debit card and follow the onscreen instructions to add a new card to your Personal Wallet.
If you have one MacBook Pro con Touch Bar e Touch ID, you can add a credit or debit card to Apple Wallet by opening System preference (the gear icon located in the Dock bar), by selecting the icon Wallet and Apple Pay from the window that opens and pressing the button [+] located in the left sidebar.
How to pay with Apple Pay

Now you are truly ready to find out how Apple Pay works, that is, how to pay for a product or service with Apple's payment method.
As abundantly pointed out above, Apple Pay can be used to pay for goods and services online or in physical stores (including hotels, bars and other public places). To use it as an online payment system, just buy a good or service at a store that includes Apple Pay among the supported payment systems, press the button Pay with Pay o Pay and confirm the transaction using Touch ID (on iPhone, iPad and MacBook Pro).
To use Apple Pay in physical stores, that's enough hold the iPhone close to the POS while holding your finger on the Touch ID. Alternatively, you can also press the button twice consecutively iPhone Home button while the lock screen is displayed, select the paper to use e bring the phone closer to the POS. On the Apple website you can find a video that shows the whole procedure in a practical and fast way.
If you have an Apple Watch, you can pay with Apple Pay in physical stores by pressing the side button of the watch twice in a row, selecting the card you want to use and bringing the Apple Watch close to the POS.
Apple Pay for merchants

Are you a merchant and would like to adopt Apple Pay in your store? To accept Apple Pay as a payment method in your store, you need to have a contactless payment enabled POS. Payments will be treated as card-present transactions and will not incur any additional charges.
To find out more, visit this page on the Apple website where you can find all the information on Apple Pay for merchants.
Article created in collaboration with HYPE.
How Apple Pay Works


