Did you accidentally delete a photo or video from your smartphone? Unfortunately it happens, but don't despair. There are several solutions that allow you to recover deleted files from your phones and can remedy even the solutions that seem more desperate.
Geek stuff? Absolutely not, what I'm talking about today are extremely easy to use applications that require no advanced knowledge. If you want to know more, take five minutes off and find out how to recover deleted files from your mobile phone with one of the solutions I'm about to recommend.
Whether you have an Android terminal or an iPhone, you should be able to achieve your goal in a matter of minutes, but of course don't expect miracles. Long-deleted data is almost always unrecoverable, because the portions of memory on which it was stored are occupied by other files, but by acting in a timely manner you may be able to achieve more than satisfactory results. I cross my fingers for you and wish you a good read. Good luck with everything!
Recover deleted files from an Android phone
DiskDigger
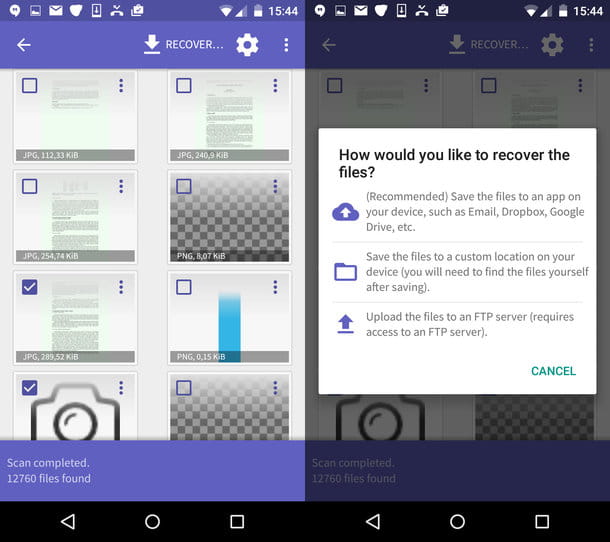
Do you need to recover deleted files from Android smartphone? Then I highly recommend you to try DiskDigger, an application that installs directly on your phone and allows you to recover all kinds of accidentally deleted files from terminal memory or microSD cards (in the case of terminals with expandable memory). It is available in two versions: a free one that allows you to recover only photos in JPG and PNG format and a paid one (3.37 euros) that also supports music, PDF documents, Office files, APK applications and ZIP archives. In both cases it needs root to work correctly. If you don't know what I'm talking about, read my guide on how to root on Android.
DiskDigger does its work in an extremely and linear way. To start the search for deleted files, start it, give it root permissions (by pressing the Grant button that appears in the middle of the screen) and if you're using the free version of the app, refuse to switch to the Pro by "tap" on the No, thanks button. Then select the partition to be scanned (it should be the one with the largest capacity marked in bold), put a check mark next to the entries for the file types to be scanned (e.g. JPG photos, MP4 videos or PDF documents) and give OK to start scanning.
When you are done, to retrieve the data found from the app, place a check mark next to their thumbnails and click the Recover button in the upper left corner. You can then decide whether to save the data to a cloud storage service or send it to yourself via email (by pressing the cloud icon), to a smartphone folder (by pressing the folder icon), or to an FTP server (by selecting the arrow icon).
PhotoRec

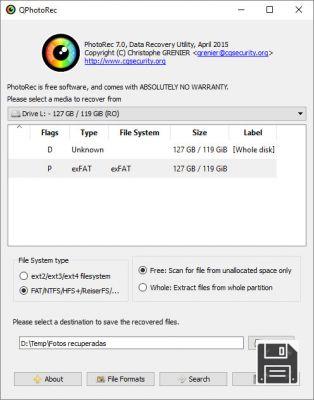
If your smartphone is equipped with expandable memory and you want to recover deleted data from microSD, you can use PhotoRec, a free and open source software that allows you to recover photos, videos, documents, compressed archives and other types of files from various types of drives. It is compatible with Windows, macOS and Linux but only on Windows it comes complete with graphical interface (otherwise it must be used via command line). It comes paired with TestDisk, another free and open source software that allows you to recover lost partitions and make damaged drives bootable again, but that doesn't matter, for the moment you are only interested in PhotoRec.
To download PhotoRec to your computer, go to the official website of the program and click the Windows item below TestDisk & PhotoRec 7.0. Then, open the zip archive you just downloaded to your PC, extract the contents to any folder and start the qphotorec_win.exe executable.
In the window that opens, expand the drop-down menu at the top to select the drive that contains your microSD (you can also use a USB or SD adapter), choose the primary partition of the device (it should be the one named FAT32, FAT16 or exFAT) and tick next to FAT/NTFS/HFS+/ReiferFS and Free.
Now, click the File formats button and choose the file formats you want to recover with PhotoRec. As mentioned above, you can choose from various types of photos (JPG, PNG etc.), videos (mov/mp4/3gp/3g2/jp2), compressed archives and much more. To reset the default selection of PhotoRec click the Reset button.
Once you've made your choice, click the OK button, then tap Browse, choose the folder where you want to save the data recovered from the microSD and start data recovery by clicking the Search button. All the files recovered by the program will be saved automatically in the folder you have just chosen.
Useful tips

- If you've deleted a photo or video and use Google Photo as a photo management app, maybe you can recover your data without using external solutions. Google Photo, in fact, moves deleted photos and videos from your smartphone to a sort of trash can that allows you to recover them for a period of 60 days. To view the contents of the Google Photo recycle bin, open the application, press on the hamburger icon in the top left corner and select the Trash item from the bar on the side. Then place a checkmark next to the images you want to retrieve and tap on the arrow icon to move them back into your smartphone's gallery.
- If you have created a backup of your smartphone using the application provided by the manufacturer of the device (e.g. Smart PC for Samsung phones), you can take advantage of its recovery features to recover the data you are interested in. For more information about this, see my guides on how to connect Android to your PC and how to make an Android backup.
Recover deleted files from iPhone
EaseUS MobiSaver

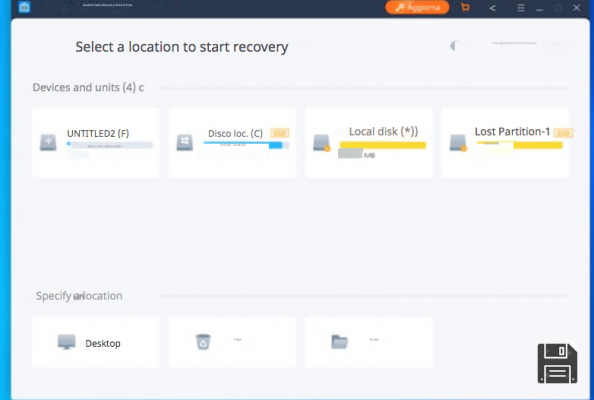
If you want to find out how to recover deleted files from your mobile phone and own an iPhone, you can rely on EaseUS MobiSaver. It is an application for Windows and Mac that allows you to recover accidentally deleted files from iPhone and all other Apple portable devices either by scanning the device directly or extracting data from iTunes and iCloud backups. I tell you right now that recovering files directly from device memory is very difficult but if you have created backups with iTunes or iCloud you have good chances of recovering your files.
The program is available in two different versions: a free version with no time limit that allows you to save only one media file (or five contacts) at a time and a paid version that costs $59.95.
To download EaseUS MobiSaver Free to your computer, connect to the website of the program and click on Free download button first and then on Download. When the download is complete, open the file you just downloaded (ems_free.exe) by double-clicking on it and, in the window that opens, click Yes first and then OK and Next. Then accept the conditions of use of the program, putting the checkmark next to the item I accept the agreement, and first click on Next twice in a row and then on Install and Finish to finish the installation process and start EaseUS MobiSaver Free.
If you are using a Mac, you can download the EaseUS MobiSaver Free for OS X version of EaseUS MobiSaver Free for OS X by connecting to the application website, placing a checkmark next to Mac (on the right) and clicking the Free Download button. When the download is complete, open the dmg package containing the app and drag the EaseUS MobiSaver Free icon into your OS X Applications folder.
To recover deleted files from your iPhone, connect your device to your computer using the supplied Lightning/Dock cable, start EaseUS MobiSaver and select the source from which you want to extract data: Recover from iOS Device to perform a direct scan of your device, Recover from iTunes Backup to extract data from iTunes backups on your PC or Recover from iCloud Backup to extract files saved in iCloud backups (online). Then click the green Scan button next to the name of your iPhone (on the right) and wait for the scan to finish.
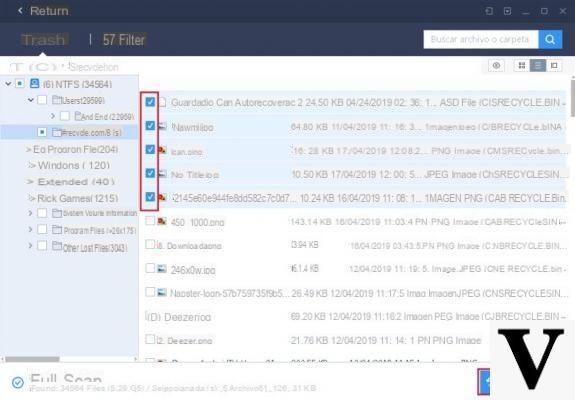
When MobiSaver finishes checking your device (or the backup you selected), use the links in the left sidebar to choose the type of files to recover: Photos/Videos for pictures and movies, Contacts for contacts, Messages for SMS, WhatsApp for WhatsApp conversations, Calendar for events saved in the calendar, and so on. Then put a check mark next to the items you want to restore, click the Recover button at the bottom right and select the folder to export them to.
Useful tips

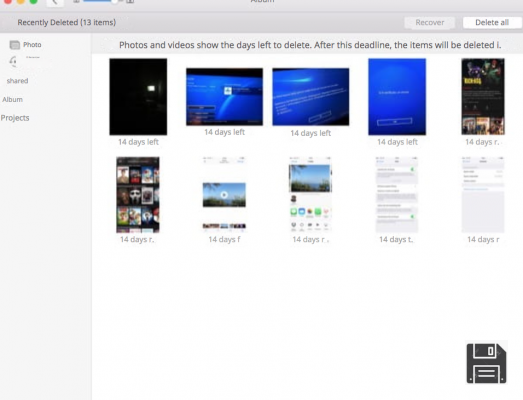
- Photos and videos deleted from iPhone are stored in a sort of recycle bin where they stay for 40 days. To restore them, all you have to do is open the Photos application, select the Albums tab at the bottom right and go to the Recently Deleted Album. Then tap on the Select button at the top right, place a check mark next to the thumbnails of the images or videos you want to restore and tap on Restore to complete the operation.
- If you have deleted a file that you have stored on iCloud Drive, you can recover it through the iCloud website. All you need to do is log in with your account, click on your name at the top right and select iCloud Settings from the menu that appears. On the page that opens, select the Restore Files item at the bottom left, choose the files you want to recover and press the Restore button to complete the operation.


