Preliminary information
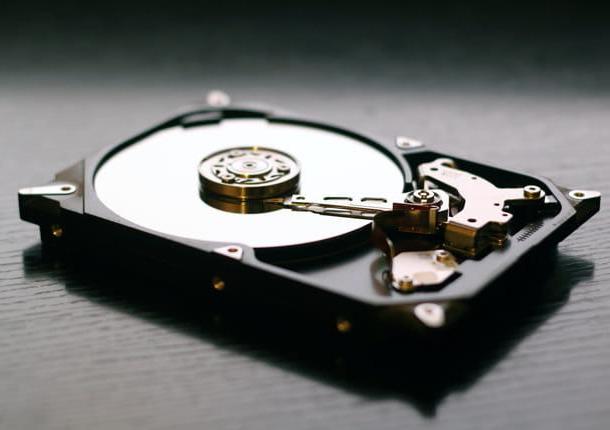
Before explaining to you how to mount a hard drive, let me give you some preliminary information about the operation you are about to perform.
You must in fact know that adding a hard drive to your computer is something you can do in different ways and that each way has its advantages and disadvantages, both in terms of performance than at the level of stability.
If you have decided to mount your hard drive as internal disk, you will surely have excellent results from the point of view of the speed and responsiveness of the disc. On the other hand, however, you will not be able to easily transport your data from one computer to another (unless they are two computers installed in a fixed location and connected to each other on the network).
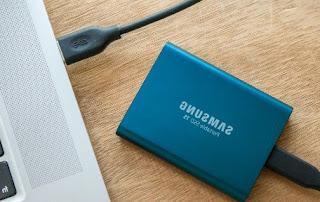
As an alternative, you can decide to mount an internal hard drive in a external box and use it as if it were a portable hard drive. In this case you will almost certainly have to sacrifice the data transfer speed (with varying results, depending on the use of box USB 2.0 o USB 3.0 and the USB ports of the devices to which you will connect the drive), but you will have the advantage of being able to move your data easily. You would therefore get a useful support for archiving, for example photos and videos, but not files related to the operation of the operating system.
That said, it is up to you to choose how to proceed: you could, for example, buy a more performing internal hard disk for your PC and “recycle” the old drive by inserting it in an external box, but of course it all depends on your needs. Either way, find the instructions to follow right below.
How to mount a hard drive on a PC
Now that you have all the information to decide how to mount your hard drive, I bet you can't wait to get started. Let's not get lost in small talk, then: read the next steps carefully and you will reach your goal in no time. Are you ready?
How to mount an internal hard drive on a PC

If you've decided to mount a hard drive as an internal hard drive, you must first choose a suitable disk for your PC. In fact, you must know that, depending on your needs, you can decide to use a classic mechanical disk (HDD) or SSD (solid state drive). The former are cheaper but much slower than the former, which instead ensure an incredible speed of access to data, operating system and programs (with variable performance, however much, from model to model) and are also more resistant to shocks. and falls.
To choose your disk with knowledge of the facts, I recommend reading my guide on which internal hard disk to buy, in which you will also find all the technical differences that there may be (apart from the capacity) between the various mechanical disks on the market, and my guide on which SSD to buy, where instead you will find all the relevant information on solid state drives.
In any case, in the next chapters I will describe the steps to follow both to mount a mechanical hard drive and an SSD. To be precise, in this chapter I will deal with mechanical discs and focus on the procedure to follow on Desktop PC (therefore using a large 3.5 ″ disk).
However, be aware that there are many laptops that offer the possibility to change parts of the internal components, including the disk, but they are much more difficult to disassemble than desktop computers and often use smaller disks, 2.5 "instead of 3.5": read more more, read my guide on how to take apart a laptop. Later, I will focus on SSDs.
Another clarification that must be made is that, to mount your internal disk, you will also need a SATA cable: the latter is needed to connect the hard drive to be mounted to the motherboard of your computer.
The SATA cable is usually supplied with the computer itself or with the purchased hard drive. In any case, if it is not present, you can buy excellent ones on Amazon.
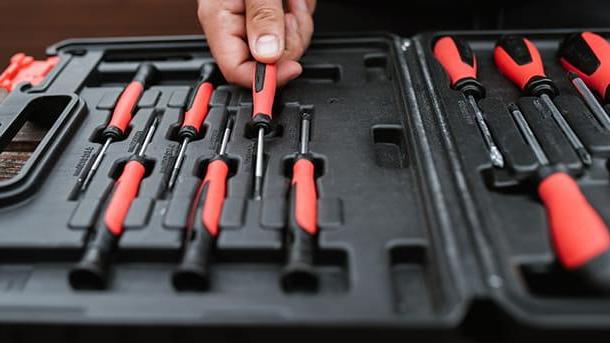
Vedi offers your AmazonYou will then clearly need a good one screwdriver set to disassemble and reassemble your computer. Also in this case, for the purchase I suggest you turn to Amazon, where you can find excellent kits at a good price.
See offer on Amazon See offer on AmazonWell: now we can take action. The first step you need to take to mount a disk in a desktop PC is when examining the disk to mount: identifies, therefore, the two SATA connectors located on the front of the unit. You can recognize them easily - this is a longer connector, designed to provide supply electric to the disc, and a shorter one, instead carries the data from PC to disk.

Now, after you have completely shut down your PC and disconnected cables and power from it, remove the side shell and locate on the motherboard computer (i.e. the part where all the cables converge) i SATA connectors with the same shape as the shorter counterpart placed on the hard disk.

Also locate the SATA power supply, corresponding to the longer counterpart present on the hard disk. Normally this cable is located on one of the branches of thepower pack, and it's not uncommon for it to be on a cable shared by other devices. Don't worry: you can safely use it even in these cases.

Connect now the SATA cable at both ends of the SATA connectors present on the motherboard and hard disk. Similarly, connect the connector of theSATA power supply to the hard drive.
Depending on where you want to put your hard drive, you may have to try different power cables before finding one that will allow you to insert the drive into its slot.
Therefore, use the viti included in the hard drive package to secure the hard drive to the slot in the computer case.

Great, the disk is mounted and you can again shut down the computer and turn it on. However, when your PC starts up, chances are you won't see any new drives. Don't worry: this is normal. Often the record goes initialized before it can be used!
Stai using a PC without other disks, you have to install the operating system on the latter from scratch: I therefore refer you to my guide on how to install Windows 10, in which you can find all the relevant information.
If, on the other hand, you have mounted the new disk as secondary unit and, therefore, you have access to Windows, log in normally to the operating system, click on the button Home (l'icona della bandierina collocata nell'angolo in basso a sinistra dello schermo), close Create and format hard drive partitions in the menu that opens and select the first occurrence found.
In the new window that is proposed to you, locate the disk you have just mounted: you can recognize it thanks to the black band present on it, and on which you will have to click with the right key mouse. Now press on the item Initialize disk from the context menu and finally click the button OK.
Perfect: now click the right key mouse over blue band appeared to replace the black one. Then press on the item New simple volume from the context menu, click the button NEXT twice in succession to format the entire disk.
If you don't want to change the letter assigned to the disk, click the button NEXT, to continue. Now you can choose whether to use the file system NTFS, compatible with Windows PCs, or ExFat, compatible with both Windows and macOS: after choosing, click the button NEXT and finally on the button end.

Now that you have learned how to mount a SATA hard drive, you can use your new storage space without any problems.
How to mount a hard drive in an external enclosure

If you've decided to mount a hard disk in an external enclosure, in order to have a storage space available portatile, know that there are several solutions that can do for you. Not all enclosures are the same, though, and not all of them might fit your hard drive.
First, identify the size of your hard drive. Hard drives, as mentioned above, can mainly have two dimensions: 2.5 " (typically used in laptops, but can also be used in stationary, often via 3.5 ″ adapters) e 3.5 " (typically used in desktop PCs).
Recognizing the size of your drive is very simple: 2.5-inch drives are thin and measure approximately 6 and a half centimeters of length; 3.5-inch drives are significantly thicker and measure roughly 9 cm of length.
The latter, unlike the 2.5 ″ drives, need one external power supply dedicated. The boxes suitable for this type of discs, therefore, can only be different in shape and components compared to their smaller counterparts.
Another feature to take into consideration is the USB standard supported by the box: without going too far into technicalities, the more advanced is the USB standard supported and the higher the data transfer speed can be, as long as the computer to which you connect the box also supports the same standard (otherwise it will "travel" all at the lower standard supported by the PC).
You can find on Amazon some excellent external boxes suitable for both 3.5 "and 2.5" drives.
See offer on Amazon See offer on Amazon See offer on AmazonThat said, let's take action. Again, first locate on your hard drive i SATA connectors dedicated tosupply (the longest connector) and transporting the give (the shortest connector).
Now locate, by opening the box you have chosen according to the instructions provided by the manufacturer, the corresponding connectors inside the box.

At this point, you just have to connect your hard disk to the connectors identified and then close the box with the method required by the device purchased.
That's it, you've learned how to mount an external hard drive in a few simple steps. You just have to connect any power supply and use the USB cable included in the external box to your PC (or any other device you want to connect the disk). Easy, isn't it?
How to mount an SSD hard drive

Now that you have learned how to mount your hard drive as an internal drive or through an external enclosure, you may be wondering if the instructions I have given you also apply to SSD, which are increasingly preferred to mechanical hard drives for speed and efficiency.
The answer is generally yes: if your SSD is the size of a 2.5 ″ disk you will find the same SATA-type connectors found on mechanical disks and you can mount them as internal disks or as external disks. But remember that, depending on the bays in your computer, you may need to use a adapter that turns your SSD into a 3.5 ″ drive. Do not worry, however, on Amazon you can find many and of excellent quality.
See offer on Amazon See offer on AmazonLately, however, you may be faced with SSDs with a particular shape, very thin and elongated: these are SSDs of type M.2, which have different connectors than the disks listed above and which cannot be mounted following the instructions for SATA disks that I have given you so far. In fact, they need dedicated connectors present on the motherboard, and are not compatible with normal SATA connectors.
If your intention, on the other hand, is to switch from a mechanical hard drive to a solid state drive, I suggest you read my guide on how to replace the hard drive with an SSD: you will learn quickly and effectively how to transfer all of them. your data in safety on your new drive, and in no time you will be able to enjoy your device to its full potential.
How to mount a hard drive


